How to create and insert a watermark on Stays.net?
Creating a custom watermark is an excellent way to protect your photos and strengthen the visual identity of your property. To make the process easier, you can use tools like Canva (paid version only) or Photopea (an online editor similar to Photoshop).
Here is a step-by-step guide to help you prepare this file:
Step 1: Prepare Your Logo
Make sure you have your logo file saved in .PNG format with a transparent background. If your logo has a white or colored background, it will stand out over the listing photos, which is not ideal for a watermark.
Example:
Step 2: Create the Workspace
You need to create a file that will serve as the “base” for the logo to work on the website.
- Open your preferred editing tool.
- Choose the Custom Size option.
- Set the dimensions to: 1500px width by 1150px height.
- Make sure the background is set to transparent (usually represented by a gray and white checkerboard pattern).
Example:

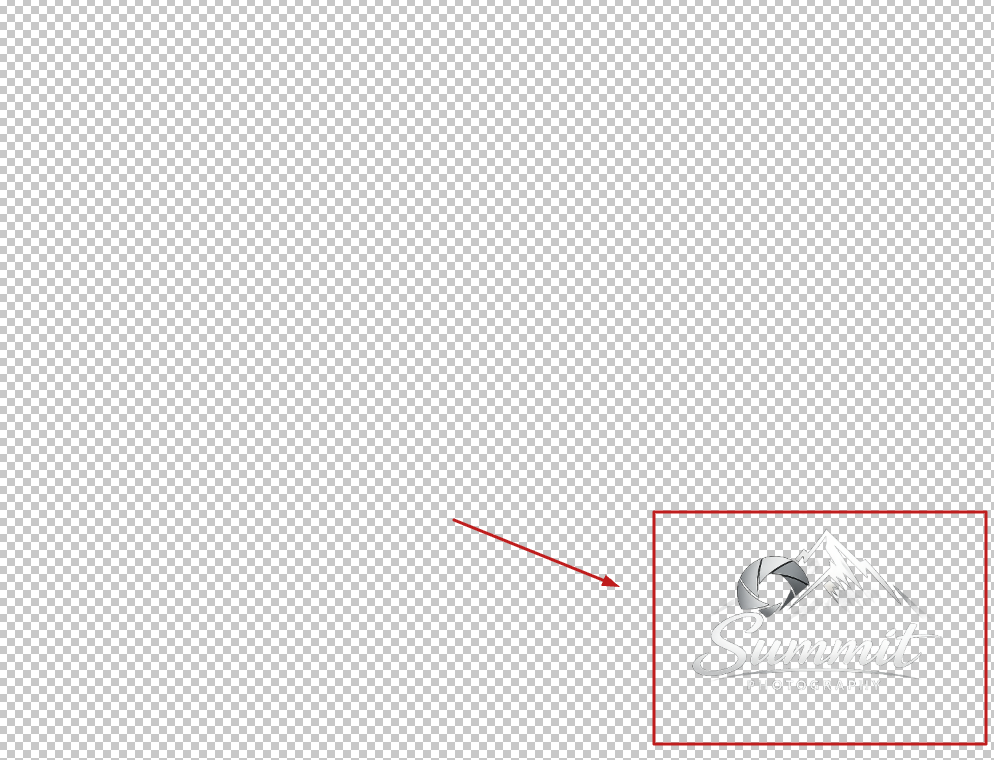
Step 3: Logo Positioning
Now, insert (upload) your logo into the file you just created.
On the Edges (Recommended): Place the logo in one of the corners (bottom-right, for example). This protects the image without obstructing the main view of the property.
In the Center: If you prefer to place the logo in the center of the image, it is essential to reduce the opacity (set it between 10% and 20%). This creates a subtle effect that does not overpower the details of your property.
Step 4: Saving the File
With the logo positioned:
Go to Export or Save As.
Make sure to select the .PNG format.
Check that the “Transparent Background” option is enabled when exporting.
Golden Tip: When positioning the logo in the corners, leave a small margin (some breathing space) between the logo and the edge of the file. This ensures the watermark is not cut off if the website automatically adjusts the image framing.
Now that your watermark file is ready and properly configured with the correct dimensions, the next step is to apply it to your booking system.
Follow this quick guide to configure Stays:
Adding the Watermark to the Stays System
Access the Main Menu: In the Stays admin panel, locate and click the left-hand side menu.
Navigate to Layout Settings: Follow the path: Manage Sites and Templates > Edit HTML > Custom Images
Upload the File: Locate the specific field labeled “Watermark”. Click to browse your computer and select the 1500x1150px .png image you created.
Complete the Process: Once the upload is complete, the system will save the configuration automatically (or click “Save” if available at the top of the screen).
What happens now?
The Stays system will automatically apply this layer over the photos in your listings.
Important Note: In some cases, photos that were already in the system may take a few minutes to update or may require you to clear your browser cache to see the changes immediately.